
Two years ago, I jumped on the limewash bandwagon and painted my bedroom, living and dining areas with lime paint.
Instead of attempting to do it myself, I collaborated with Vasari and they taught me SO much about limewash paint including six surprising things that blew my mind.
But first, let’s take a look at the before and after photos of my home.

Related: Limewash vs Whitewash – Which Technique Is Better For My Brick Home?
Before

The wall colours of my home have been the same since my husband and I moved in six years ago. It’s a basic white with a slight grey undertone. Nothing special.
While I do love the simplicity of it, we live in an apartment with green-tinted glass windows (which we can’t change unfortunately) and the tint from the windows can make the walls look a little cold and sterile.
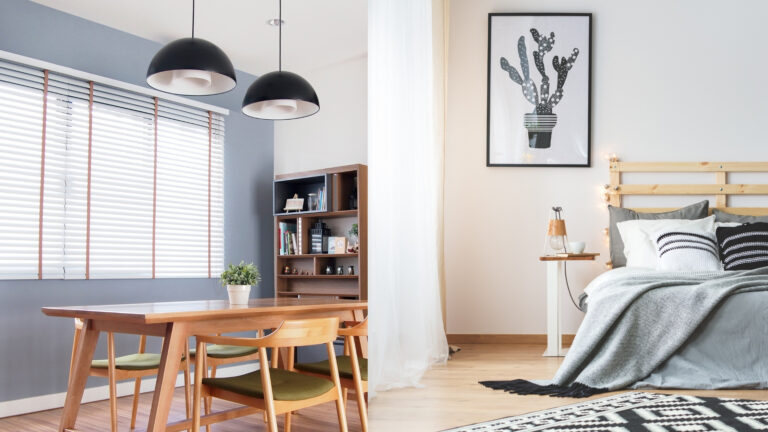
After
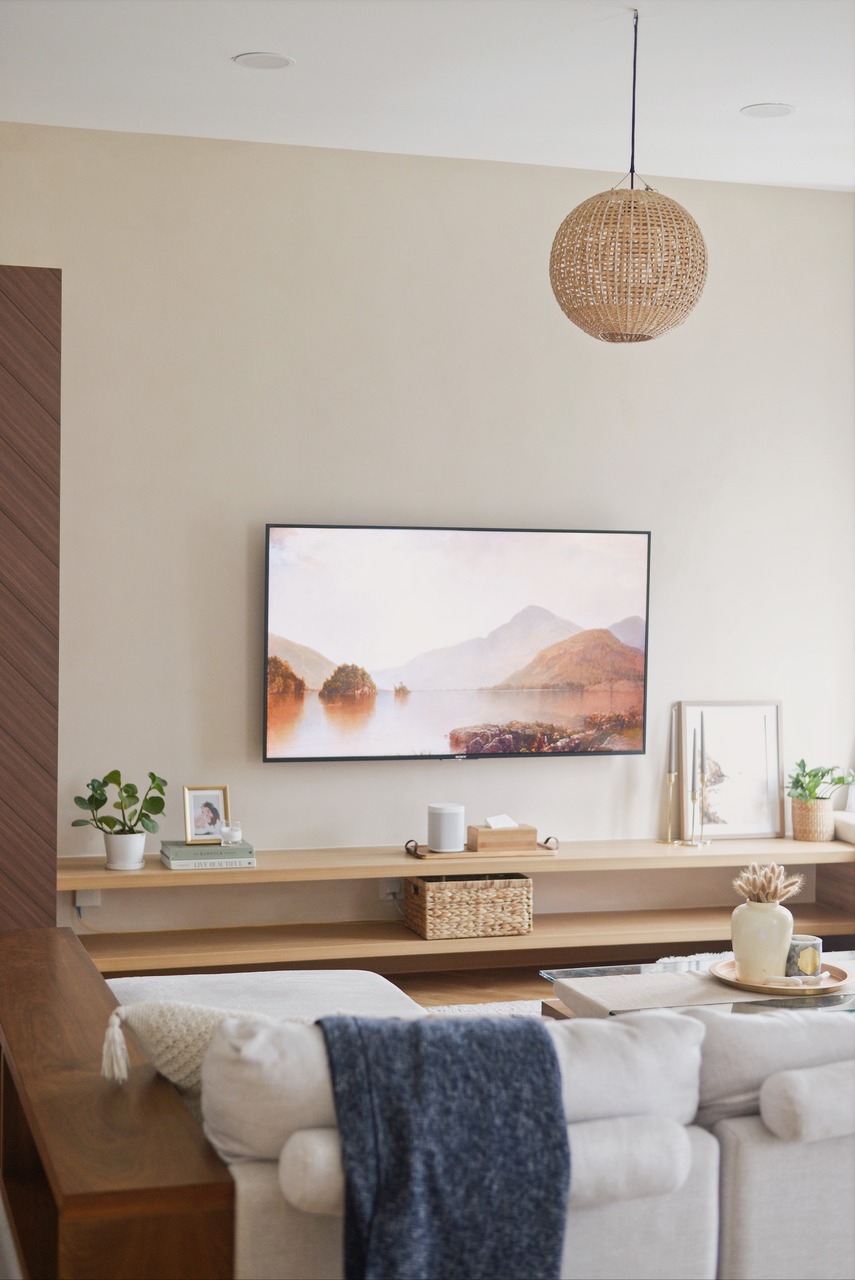
I chose Vasari Lime Paint in Linen White (LP20) for the living area.
Despite the ‘white’ in its name, this colour is NOT white. It’s a subtle beige colour with a neutral undertone. Not too bright and not too dark.
This colour does make my living area look smaller, but it also changes the whole mood of the space. The living area definitely looks more cozy, warm, and inviting now.
Before
After

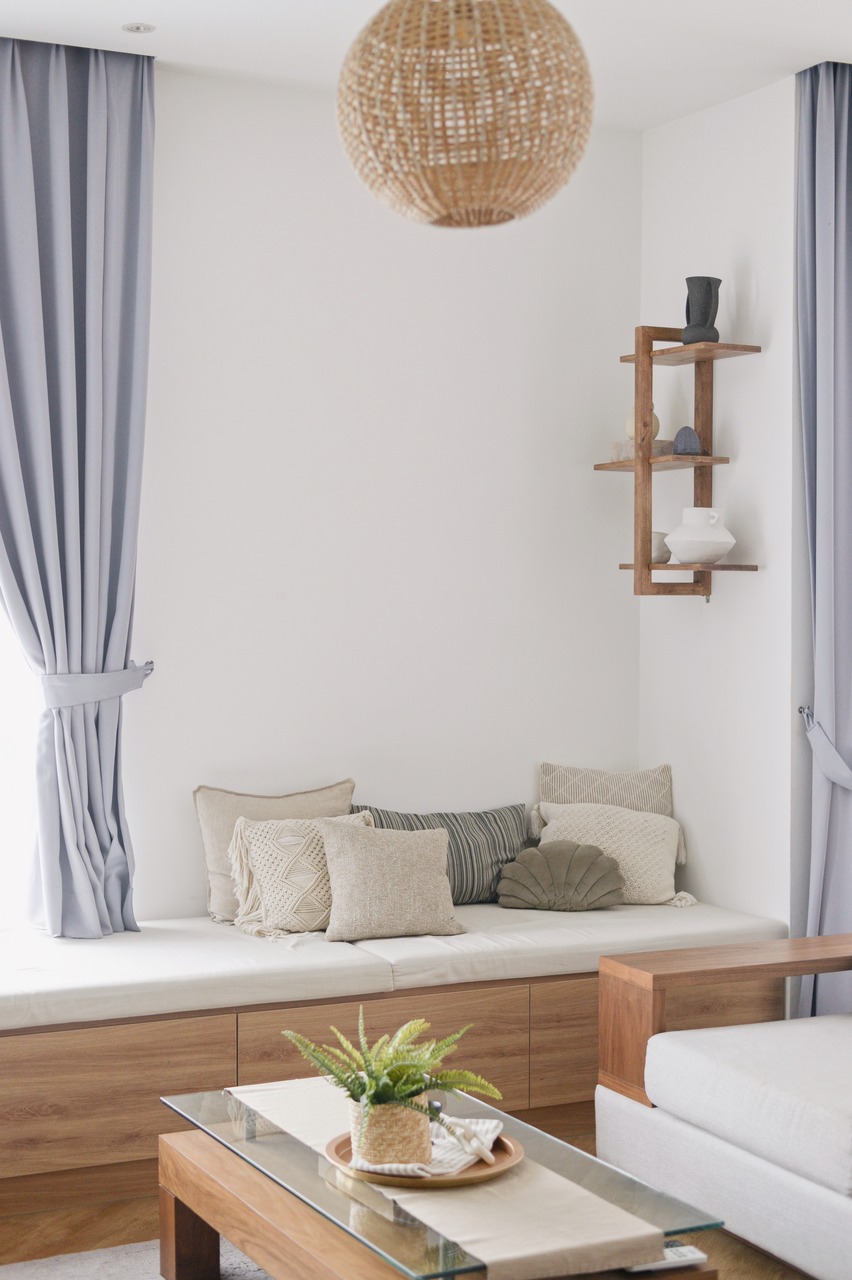
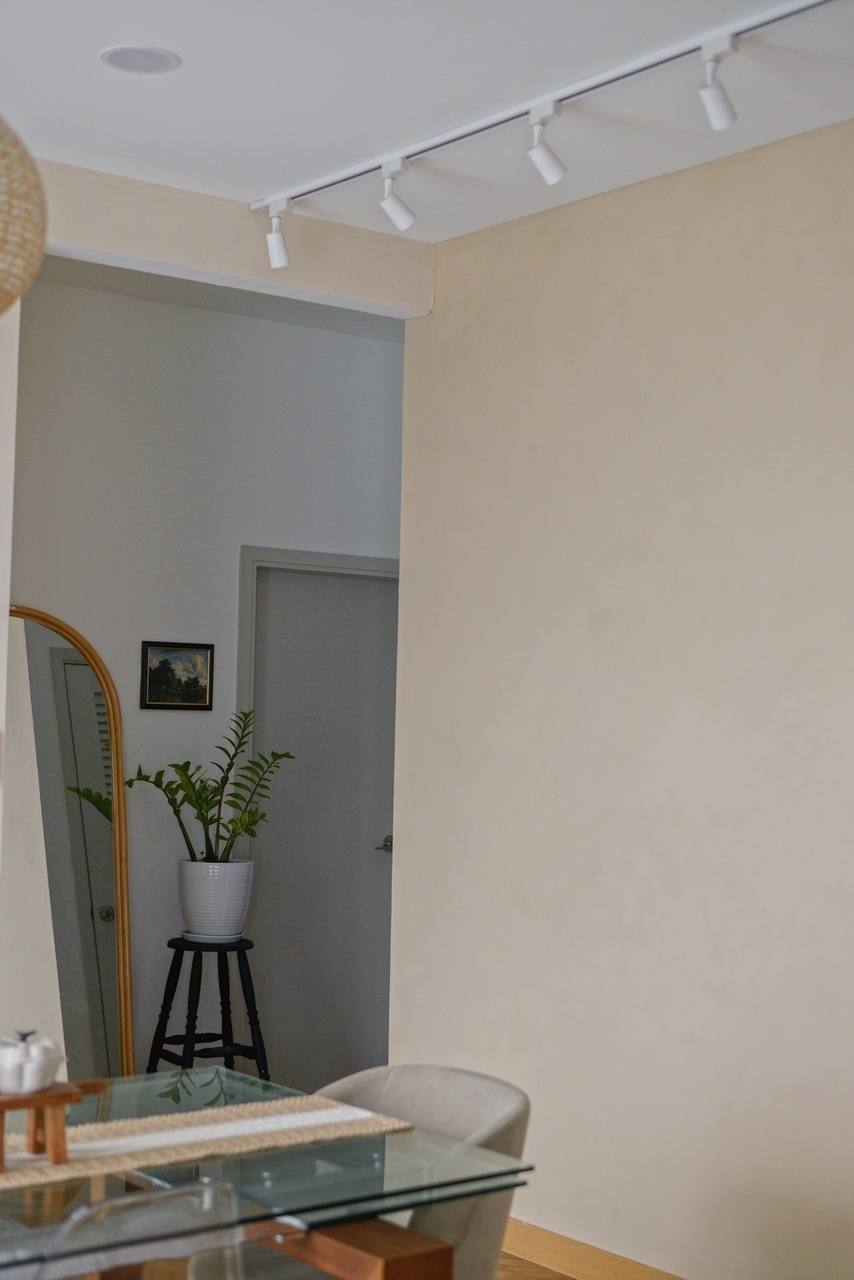
If you’re wondering why one wall (and the ceiling!) is not painted, well… it was an honest mistake. I simply forgot to include the wall when the Vasari team came and took measurements.
I’m not fussed about them though since not every wall in our open concept apartment is covered in lime paint.
It feels like an intentional design decision, even though it truly wasn’t!
Before
After
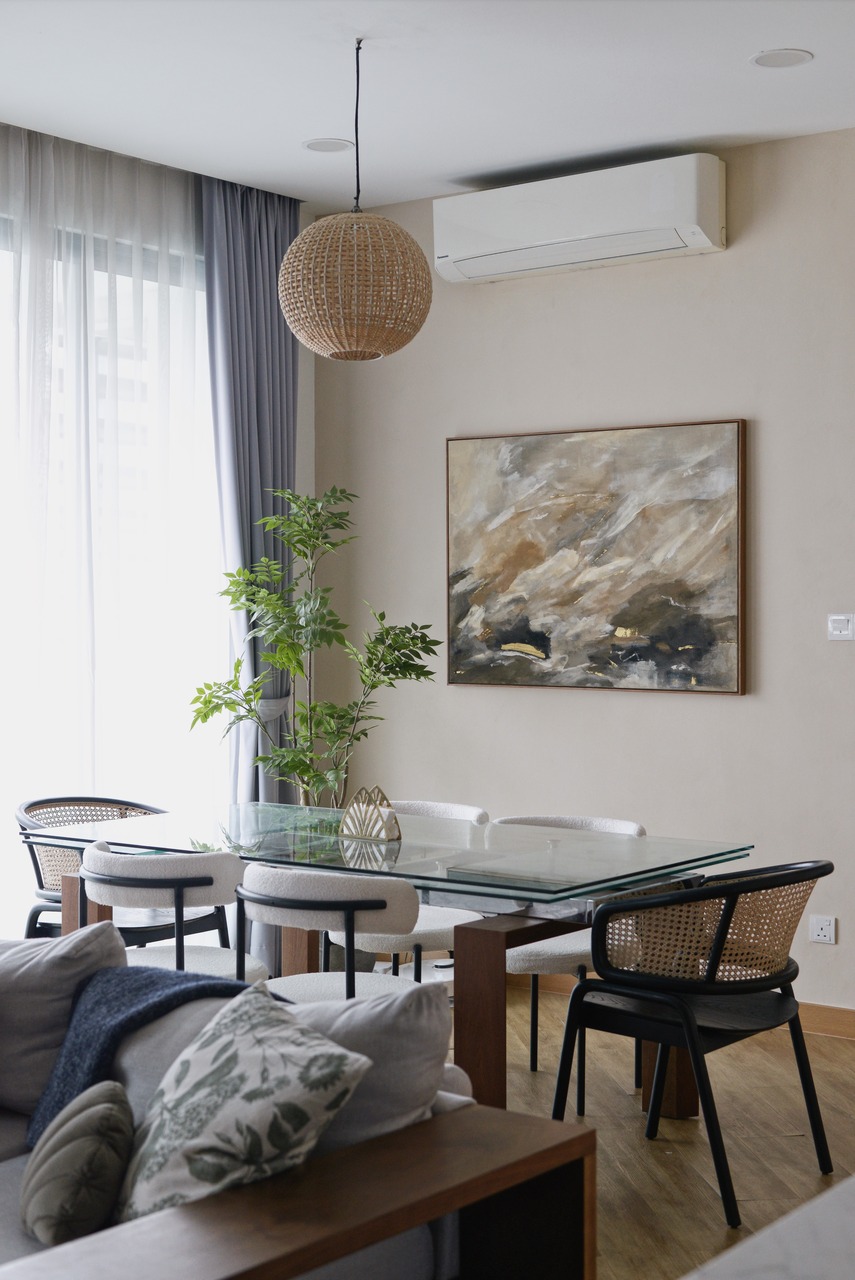
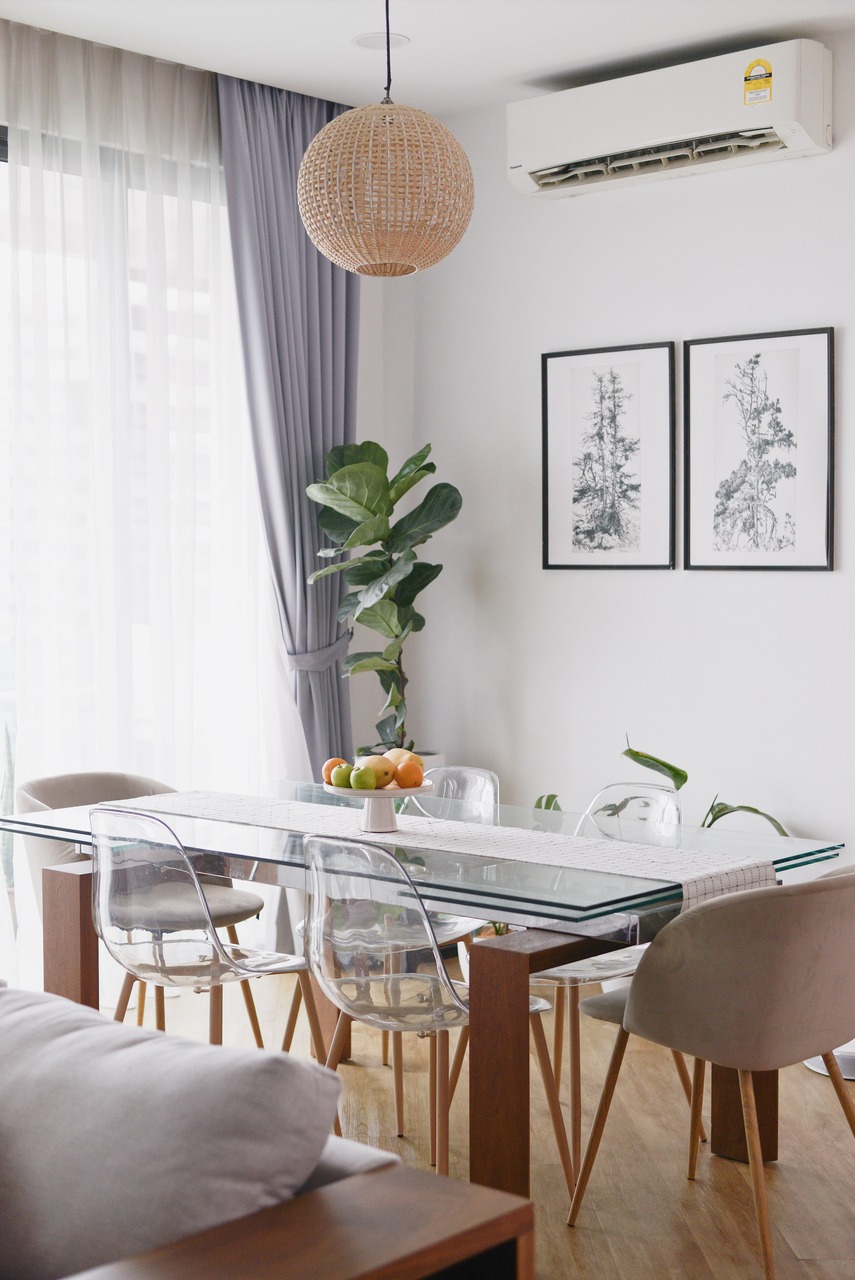
The dining room went through the biggest transformation and I couldn’t be happier with the outcome!
Since the living and dining area share the same space, I used the same Linen White (LP20) paint for the dining area to make everything look cohesive.
The previous look was bright and airy, which felt very tropical. But once the Vasari team painted the walls, I instantly knew I wanted a moody dining room.
It took me over a year to find (and purchase!) the right furniture and artwork, but it was definitely worth the wait.
I’m in love with my dining area, it might just be my new favourite room in the entire home!
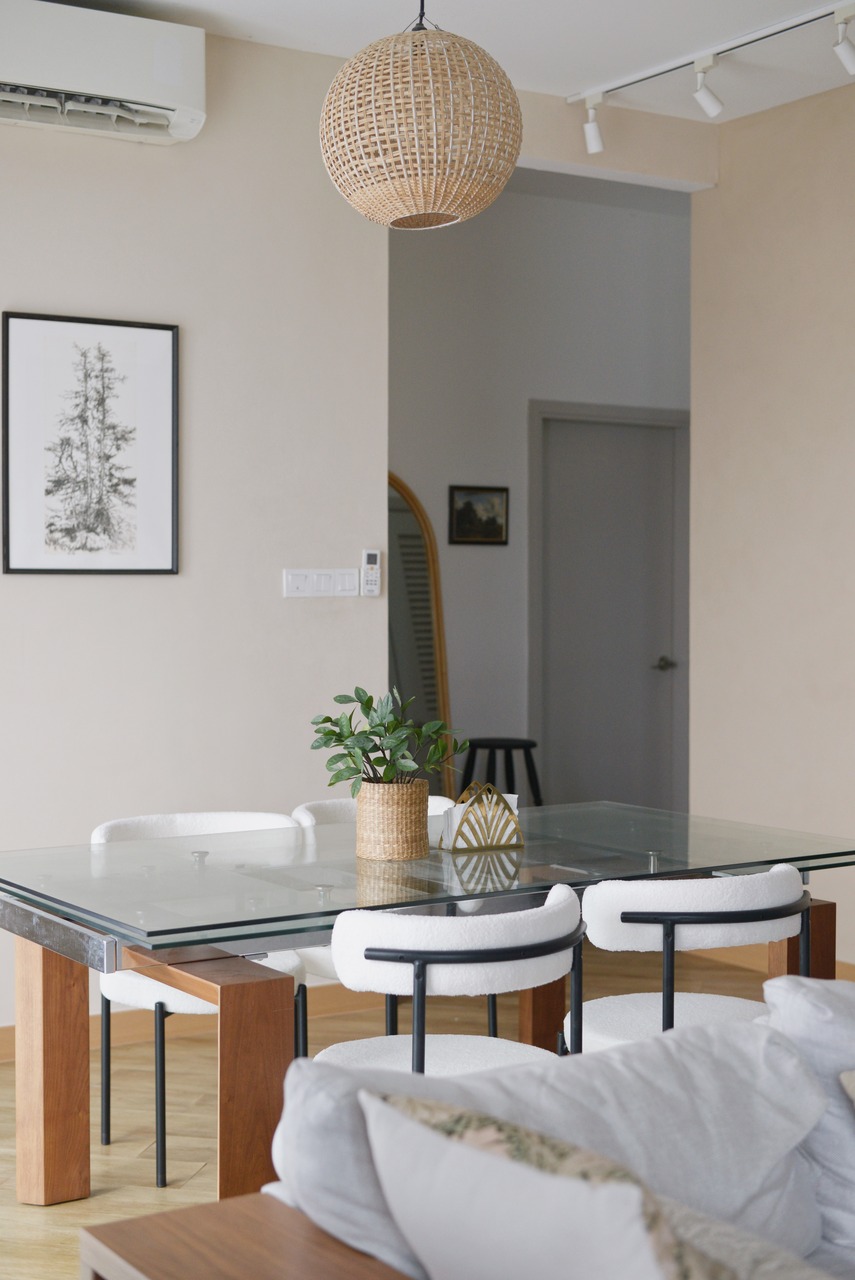
For the large blank wall facing the dining area, I chose the Vasari Lime Paint in Almond (LP25), a darker and deeper shade with a warm undertone.
I’ve always saved this wall for a gallery wall, so I felt it needed a warmer and bolder colour to make the frames pop.
Before
After
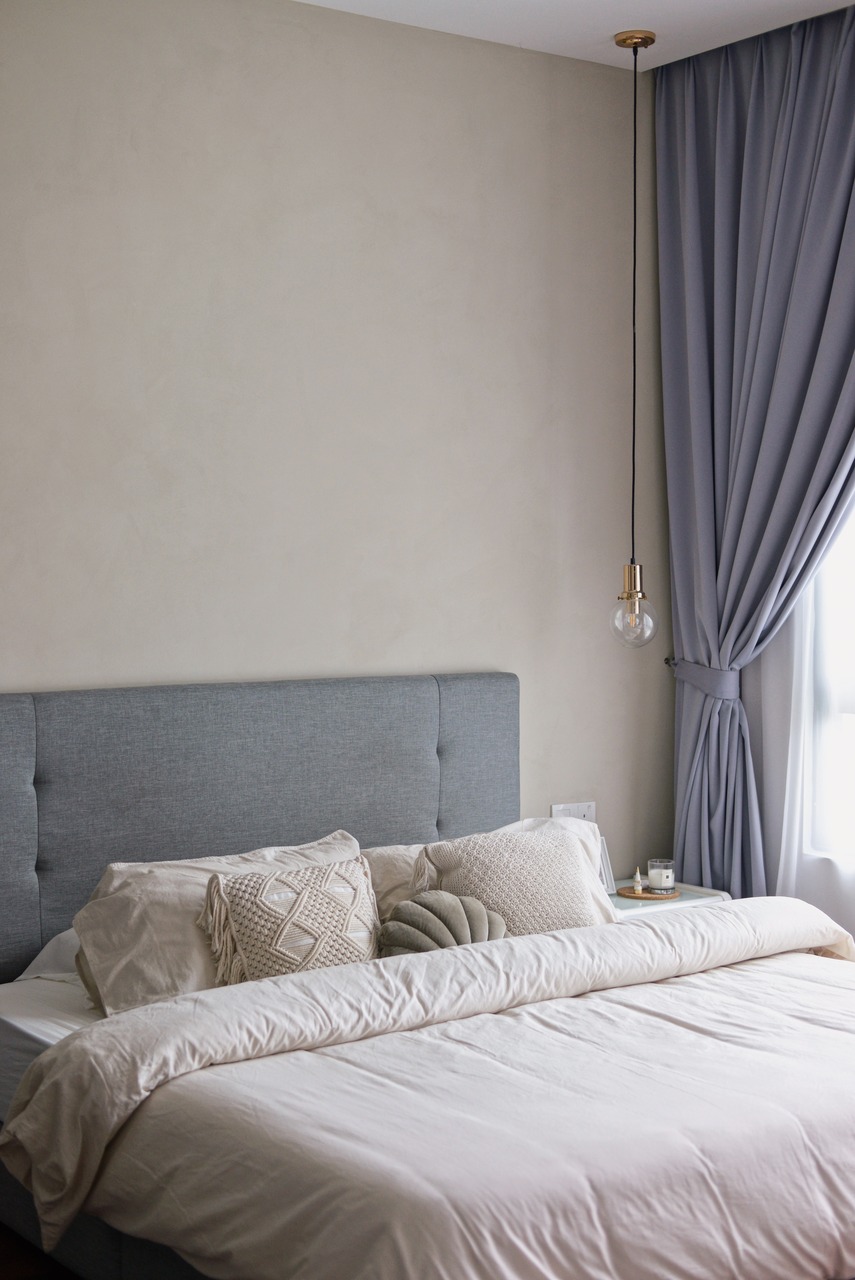
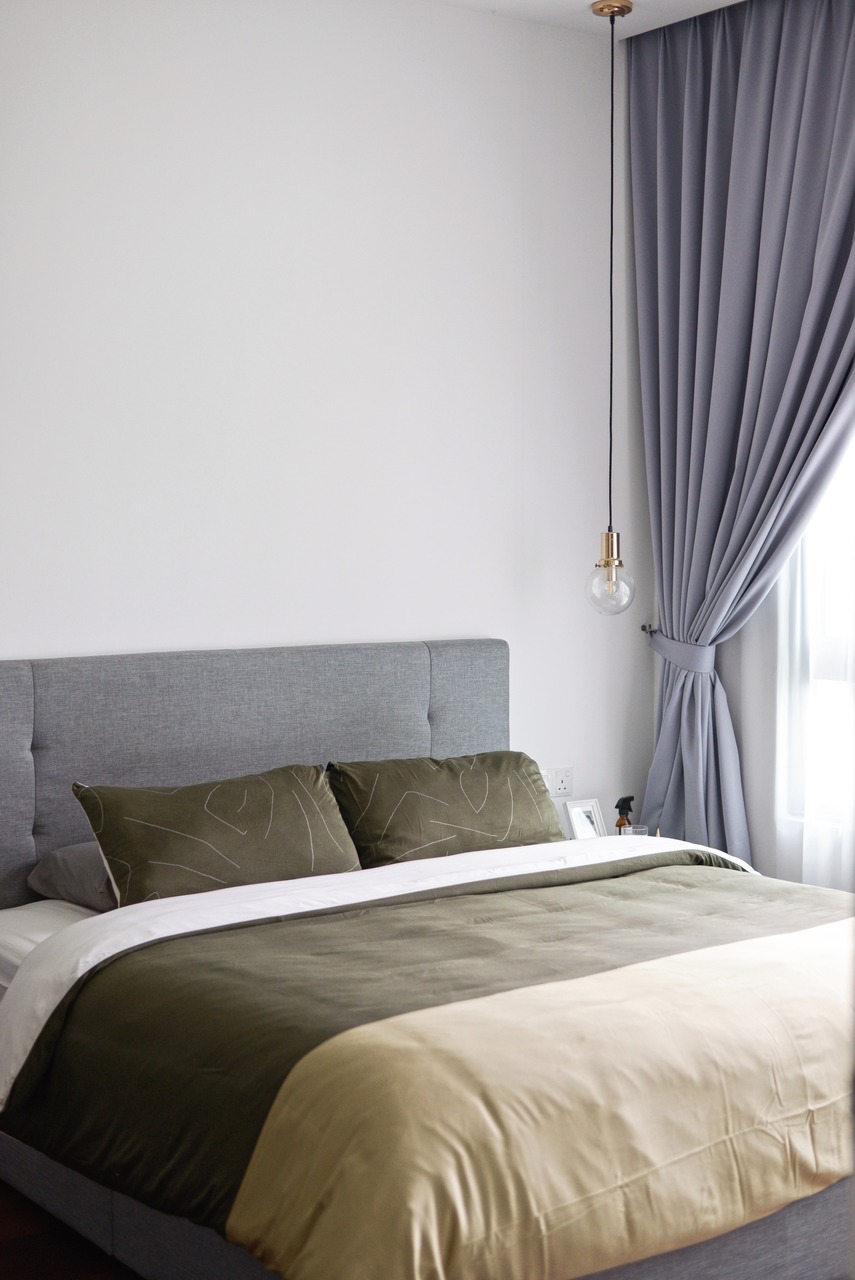
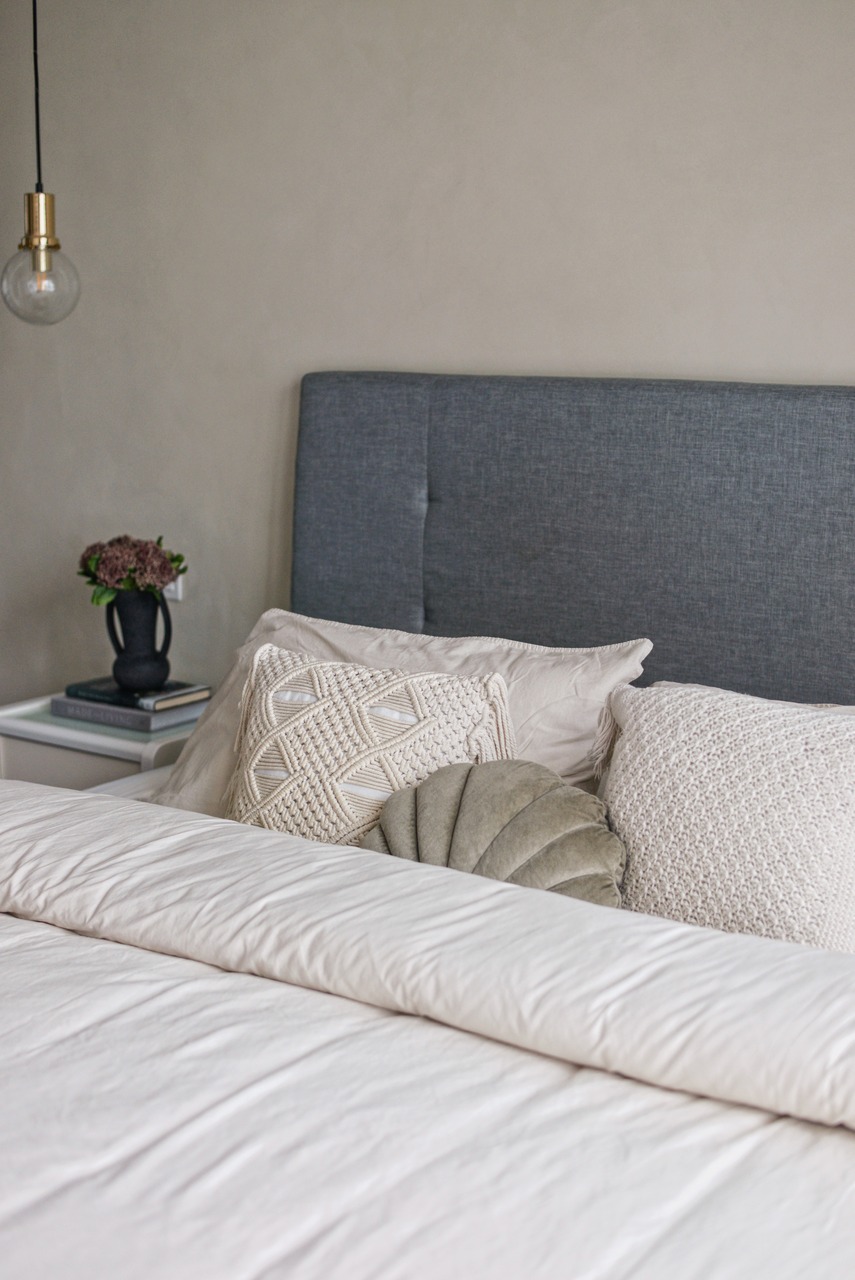
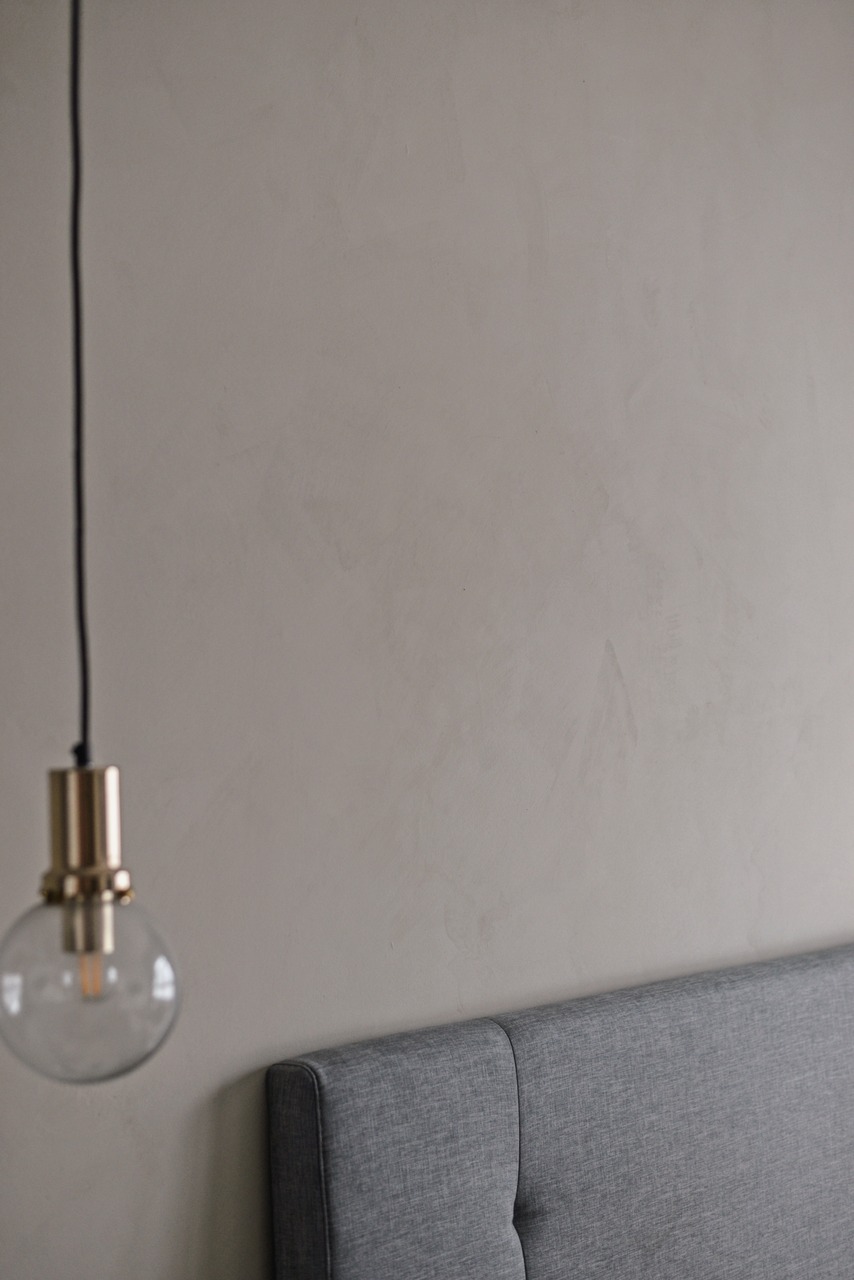
I wanted something completely different for my bedroom, so I went with the Vasari Lime Paint in Olive (LP18).
I have to admit I was a little apprehensive because I was worried the green hue from the paint and the tint from the windows will make the room look washed out.
Thankfully, it didn’t, on the contrary, the bedroom looks so warm, cozy, and homey. Exactly what I was hoping for!
Since I initially wanted a feature wall, this was the only wall in the bedroom that was painted.
I regret not painting the entire bedroom; it would have made the transformation even more major!
Six Surprising Things I Learned About Limewash Paint
1. Limewash is a watered down version of lime paint
Before I embarked on my lime paint journey, I always thought lime paint and limewash were the same.
I even used these terms interchangeably until I found out that limewash is a watered down version of lime paint.
The main difference between lime paint and lime wash is the level of viscosity or thickness of the paint.
I ended up using lime paint (not limewash) because lime paint has a thicker mineral consistency, which makes it easier to work with and to get the texture I want.
Although I love the cloudy texture of limewash, I find that it can look overpowering, especially in open or small areas.
Plus, I wasn’t sure if it’ll look dated in a couple of years.
Since lime paint is not cheap, I opted for minimal texture to fully appreciate the subtle nuances and movement of the paint without it feeling overwhelming.
2. You need to prep your walls before applying limewash paint
It is SO important to prep your walls before applying lime paint. Otherwise, you’re not going to achieve the limewash results you want.
First, you’ll have to clean your walls to remove any dirt, dust, grease and grime. If you have any holes, make sure to fill them and sand them down.
Then, you’ll need to apply a primer before going over with lime paint.
If you are painting new or previously painted drywall, you MUST apply a mineral primer first and give it at least 24 hours to dry.
This provides a porous base for the limewash so it sticks onto your wall properly.
3. You don’t have to use a sealer after the limewash process
Some brands recommend finishing off the limewash or lime paint process with a mineral sealer or a wax.
Sealing your walls will make them waterproof, which means your walls will be protected from stains. However…
Sealing your walls may not be the best idea.
Sealing your lime paint walls can increase the sheen of the finish. And, it can change the appearance of the lime paint colour too.
Although lime paint is all-natural, most sealers are not and contain many non-biodegradable chemicals, which can be dangerous to us and the environment.
Besides that, once a sealer goes on the surface, you’ll need to apply a primer again if you want to repaint your walls in a few years.
4. DIY limewash? It’s not as simple as it looks
It’s important to do your own research if you’re attempting to limewash your walls without professional help.
The Vasari team gave me a hands-on lesson but I still found it challenging to control the texture and colour of lime paint.
One valuable lesson that stuck with me was that using a brush creates less texture whereas using a sponge produces more texture.
You may also need several coats to get the desired effect you want.
5. Limewash paint becomes lighter as it dries
Wet lime paint looks a lot darker when it is first applied.
When lime paint starts to dry, you’ll notice that it will become much lighter.
I discovered that lime paint looks best when you finish an entire wall in one go instead of taking breaks.
If you don’t complete a wall in one session, the paint can appear patchy and uneven.
To get the best results, it’s key to apply it evenly in consistent strokes and finish entire sections without pausing.
6. You cannot achieve perfection with limewash paint

Lime paint is beautiful, but it is unpredictable especially for newbies.
Unlike traditional paint, you’ll find that it’s almost impossible to achieve standard results with lime paint due to its natural textured finish.
But, the variations in colour and texture are what makes lime paint so appealing.
You may not be able to get a flawless, smooth surface but you’ll definitely have a beautifully-aged authentic look that is unique to your home.
It has been two years since I used lime paint and I still love it as much as I did back then!


One Comment