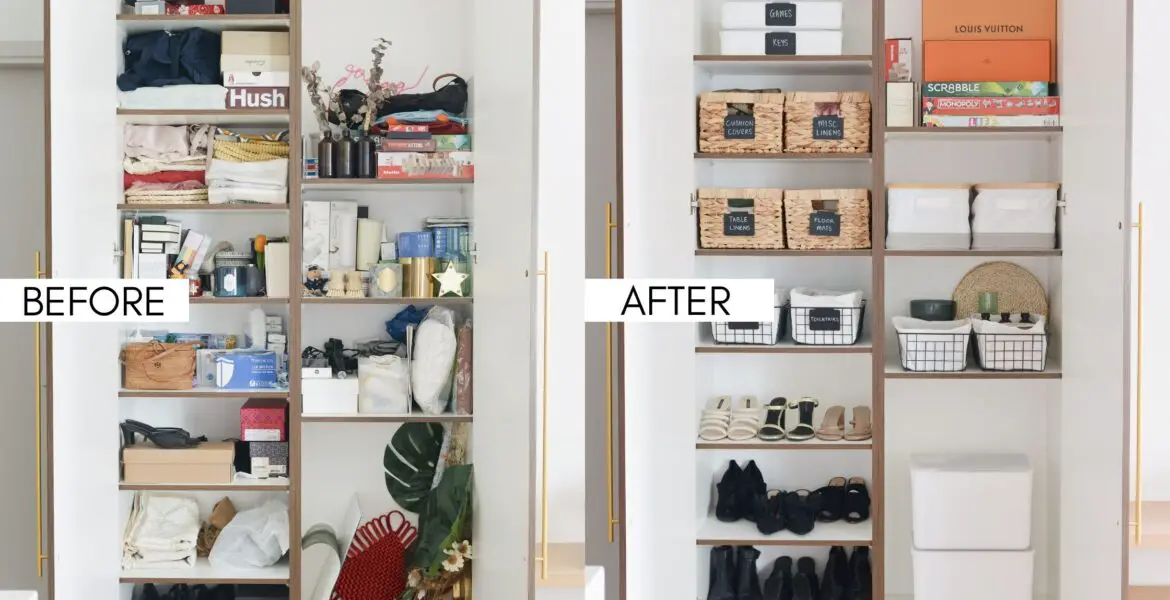
Admit it, is your hall closet a dumping ground for random everyday things? If you said yes, read on to discover how to organize your hall closet in a day. If I can transform my messy hall closet into a work of art, so can you!
Everyone has that one drawer or closet in their house they don’t want anyone to see. For us, that’s our hall closet.
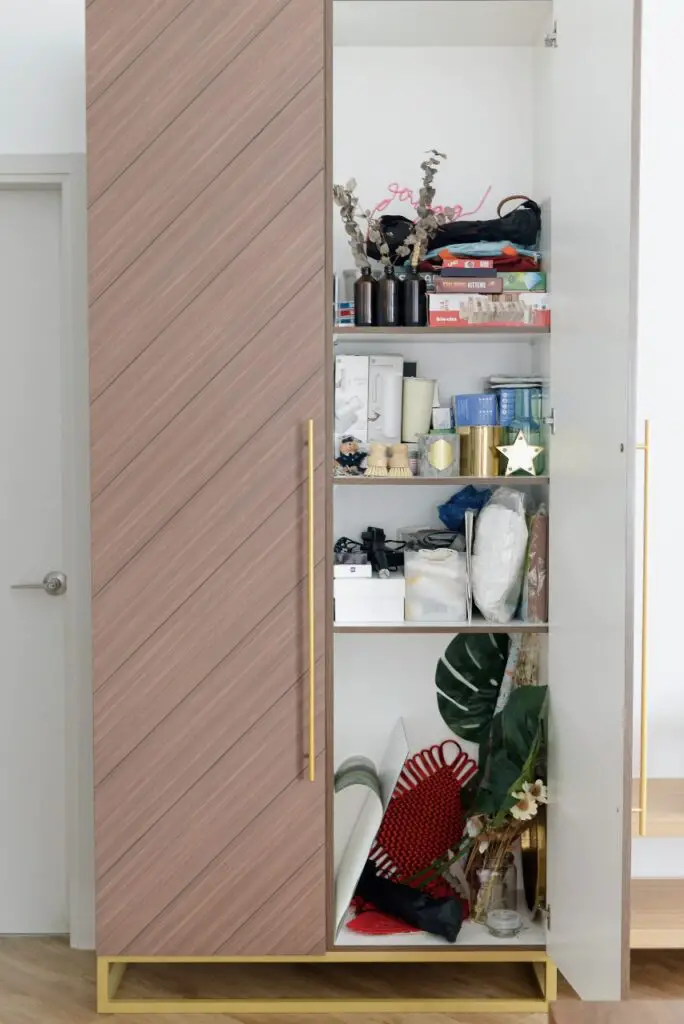
Now, I know that hall closets are traditionally meant as a place to store coats, jackets, hats, and umbrellas. Well, ours is a little different, and I know some of you can relate just by looking at our hall closet.
Cleaning and organizing a hall closet seems to be a once-a-year type of task. We haven’t done it in a while, and I thought this is the best time to organize it once and for all since we’re in lockdown.
That way, I don’t have to run and stop my friends from opening our hall closet anymore by the time we’re allowed to have friends over. It’s not something they do anyway, but at least I’m getting rid of that irrational fear!
If the situation above sounds familiar, I’m inviting you to hop on the bandwagon and start organizing your hall closet. Don’t know how? Read on to learn how to organize a hall closet. And, if you’re still not convinced, scroll down to see the shocking before and after of my hall closet!
Related to How To Organize A Hall Closet:
- The Ultimate Guide To Paper Decluttering (Plus 5 Steps To Organize Important Paperwork!)
- How To Organize A Junk Room Like A Pro (And Kick Your Clutter To The Curb)
- How To Declutter Books And Why You Shouldn’t Feel Guilty About It
Take stock of what you’re keeping inside your hall closet
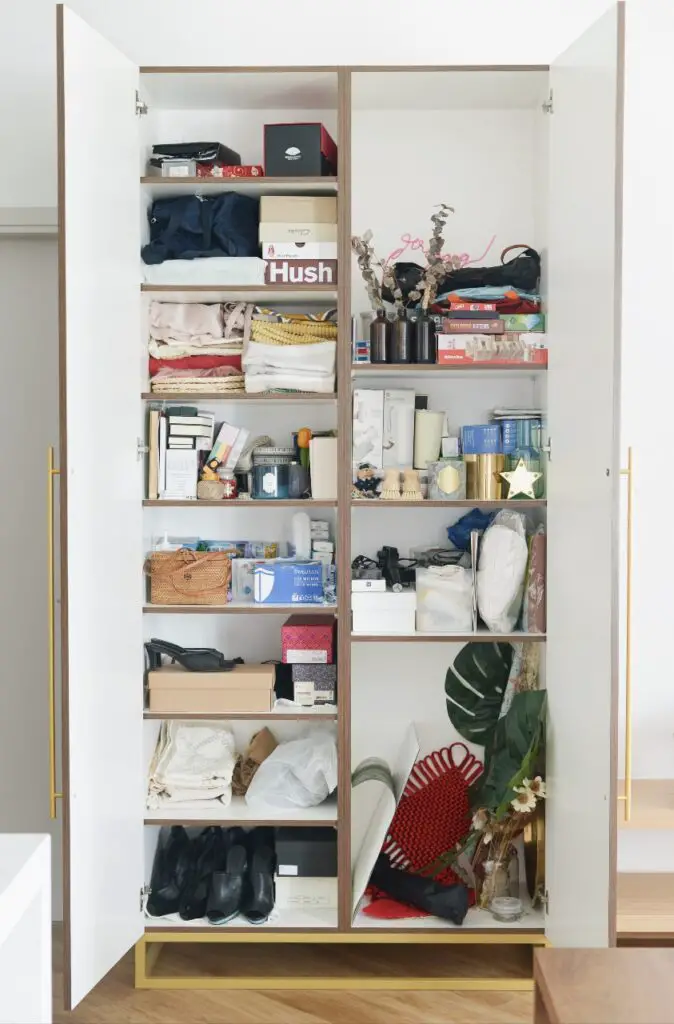
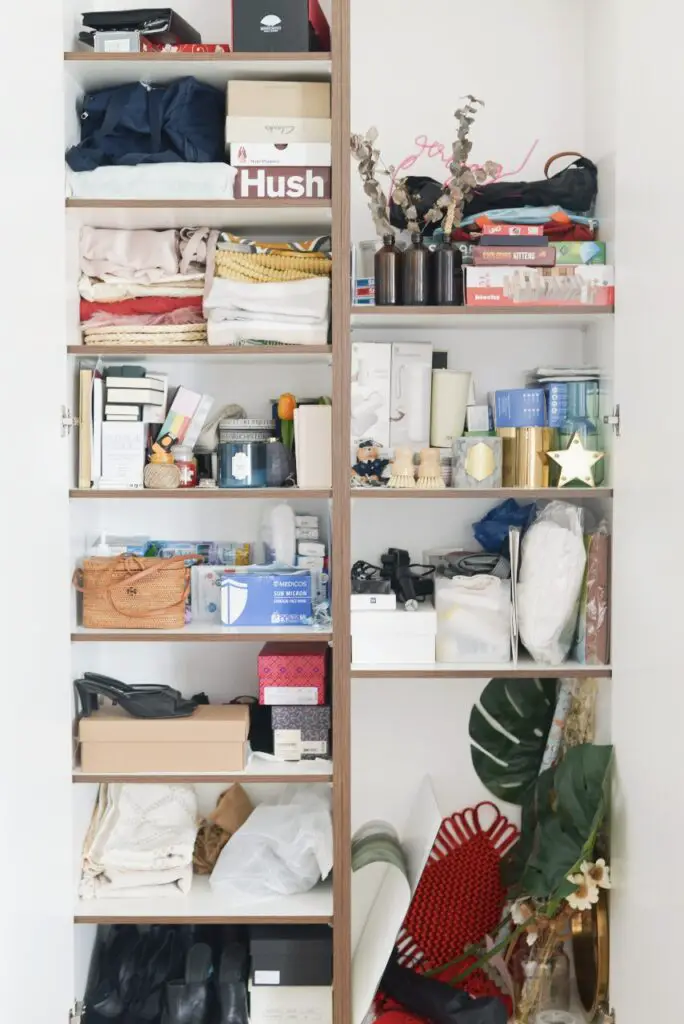
I like to start by checking what I have inside my hall closet. This is probably the most overwhelming step of the tutorial, but I like to get the hard stuff out of the way first.
Our hall closet has a mix of everything. There are shoes, toiletries, linens, board games, and recycling bags. Since I’m also a home decor blogger, I have an extensive collection of random home decor items like candles and vases.
It’s never fun seeing how much junk you’ve accumulated over the years, but I promise you’re going to feel better!
Purge, keep, and sort
Once you’ve taken everything out from your hall closet, it’s time to purge, keep, and sort!
First, you’re going to need a couple of trash/to recycle/to donate bags. Unlike sentimental clutter, you don’t need to be precious about purging items in your hall closet. Trust me, you’re not going to realize what’s missing after a while!
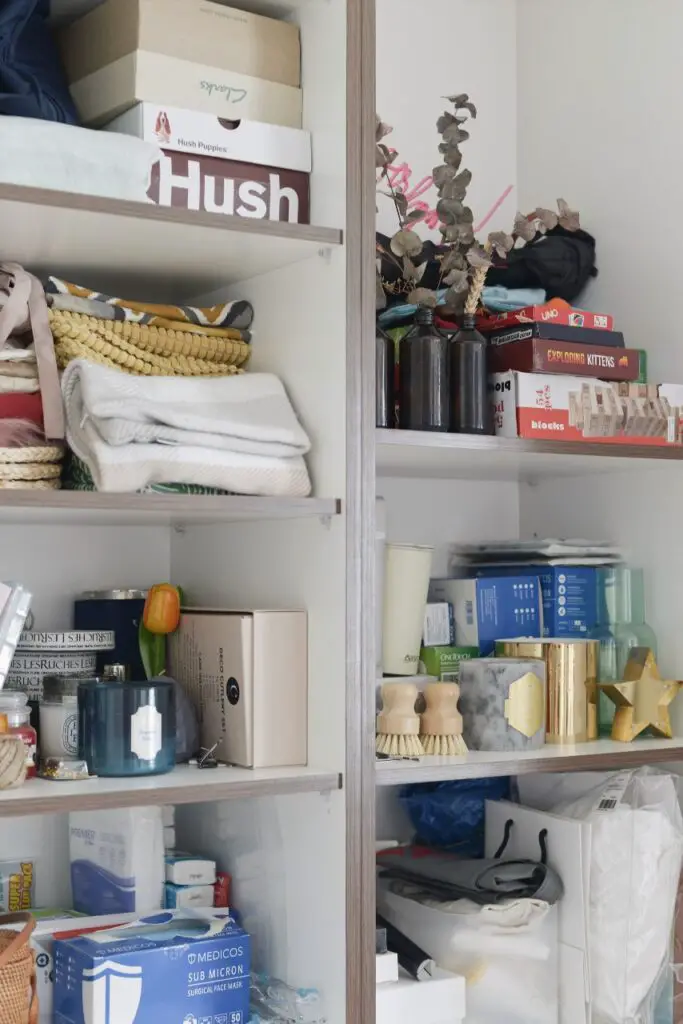
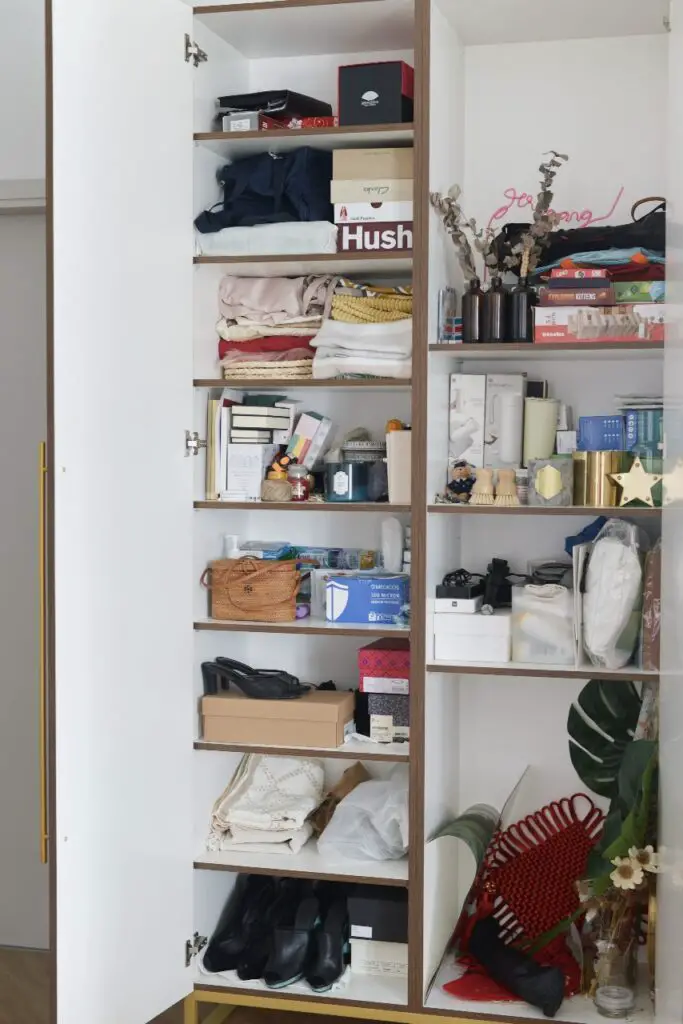
Here are some examples of things you should purge immediately:
- Empty boxes
- Soiled/Ruined shoes
- Broken items like umbrellas, tools, etc.
- Expired stuff like medication and vitamins
If you have duplicate items like playing cards or umbrellas, consider donating them to friends or charity. Additionally, if you have a lot of miniature toiletries from hotels, I recommend including them in care packages for the homeless.
Once you’ve decluttered, you can move on to sorting the things you do want to keep. Corral like items together so that it’s easier to find them later.
We have six groups in total:
- Linens including rugs, cushion covers, and table linens
- Shoes
- Toiletries including toothbrushes, toothpaste, cotton rounds, and sanitizers
- Decorative items like candles, vases, and picture frames
- Board games
- Miscellaneous like random bits and bobs that don’t belong in the other groups
Plan your space

The best way to physically sort your items is by using storage boxes or baskets. But before you rush to Target and buy every box in sight, it’s so important to do a bit of space planning.
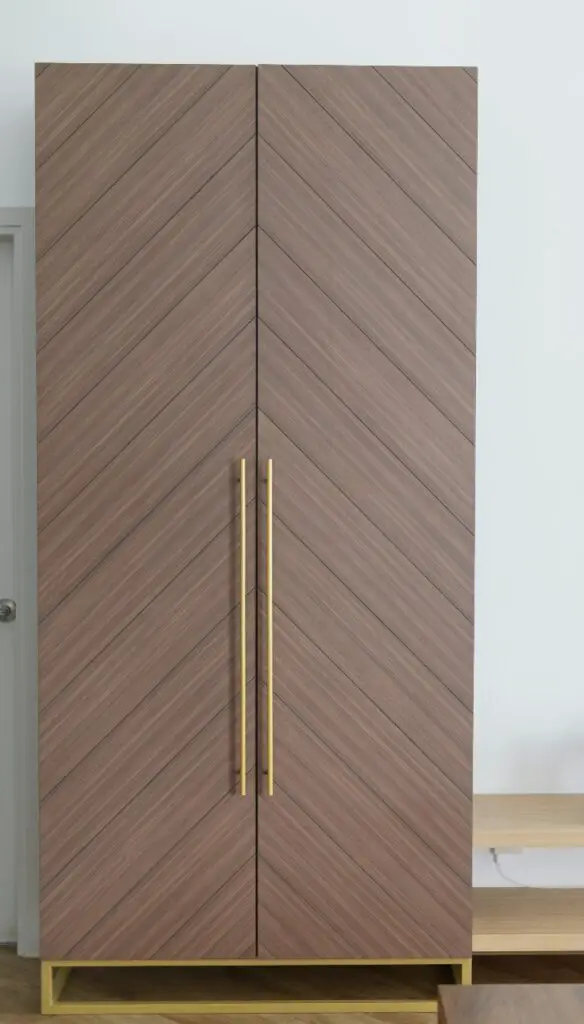
Hall closets vary in size and type. In our instance, our hall closet is a built-in cabinet right in our living room. It’s a custom built-in, so we had to measure each shelf to make sure we purchase the right boxes.
I knew I didn’t want a basic and boring hall closet, so I decided to mix and match my storage solutions. Mixing and matching can be tricky – too many different shapes, sizes, and colors can make your hall closet look busy.
If you’re thinking of doing this, I highly recommend creating a moodboard on Canva with the exact storage solutions you’re looking to purchase.
Some people may find this step a tad extreme, but I found it so helpful. It’s easy to get confused when there are so many options available.
Seeing the outcome on my screen helped me to ensure I only chose storage solutions that will complement each other.
Shop for storage solutions
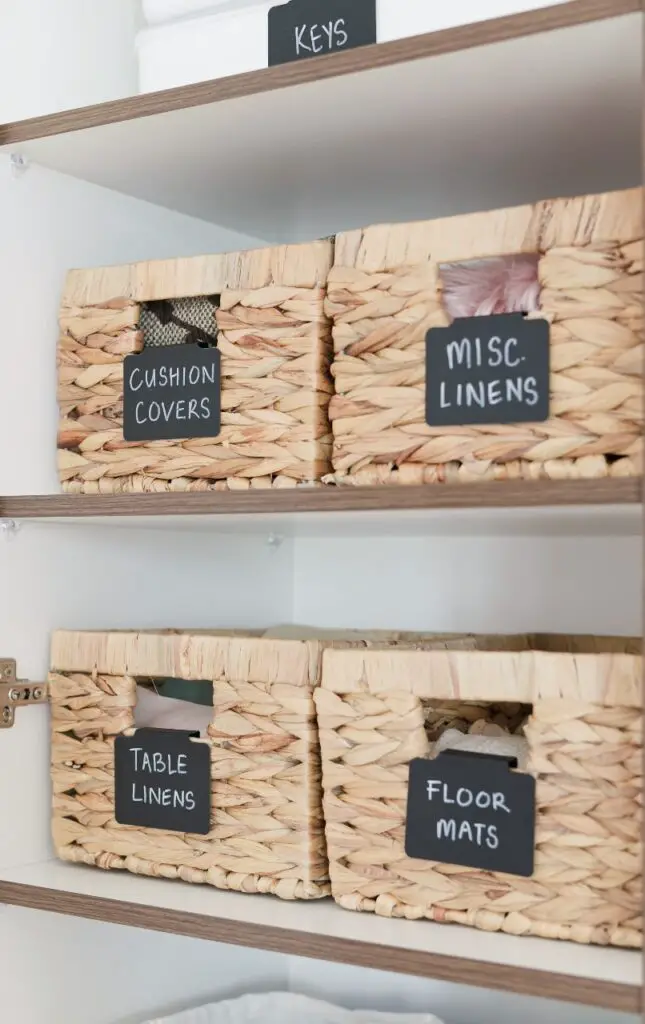
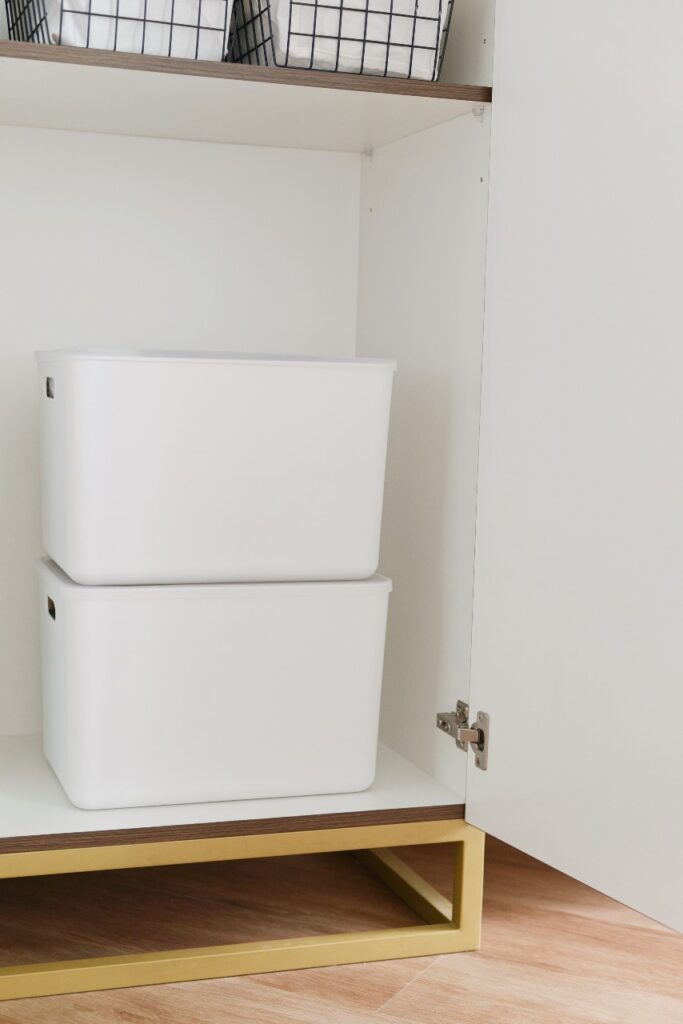
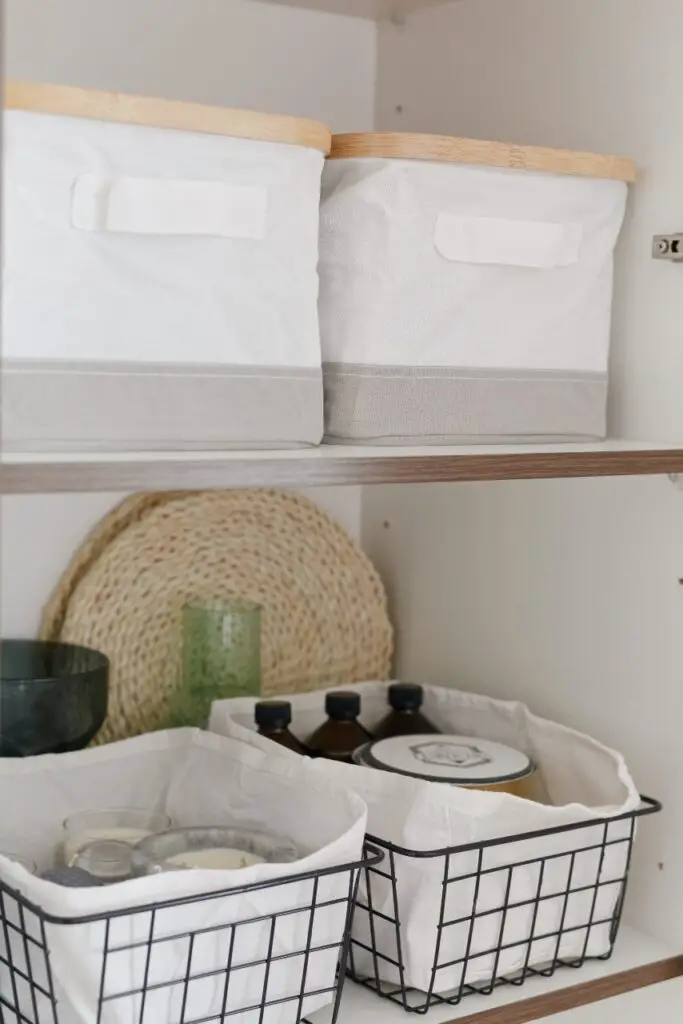
From water hyacinth baskets to storage bins, you’re spoilt for choice when it comes to shopping for storage solutions!
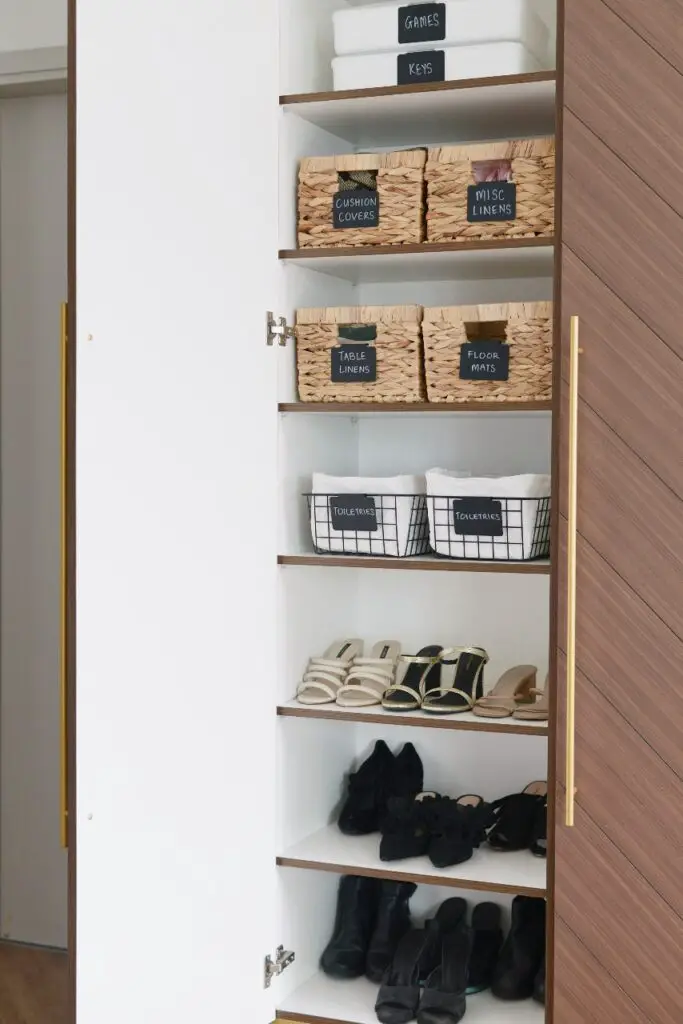
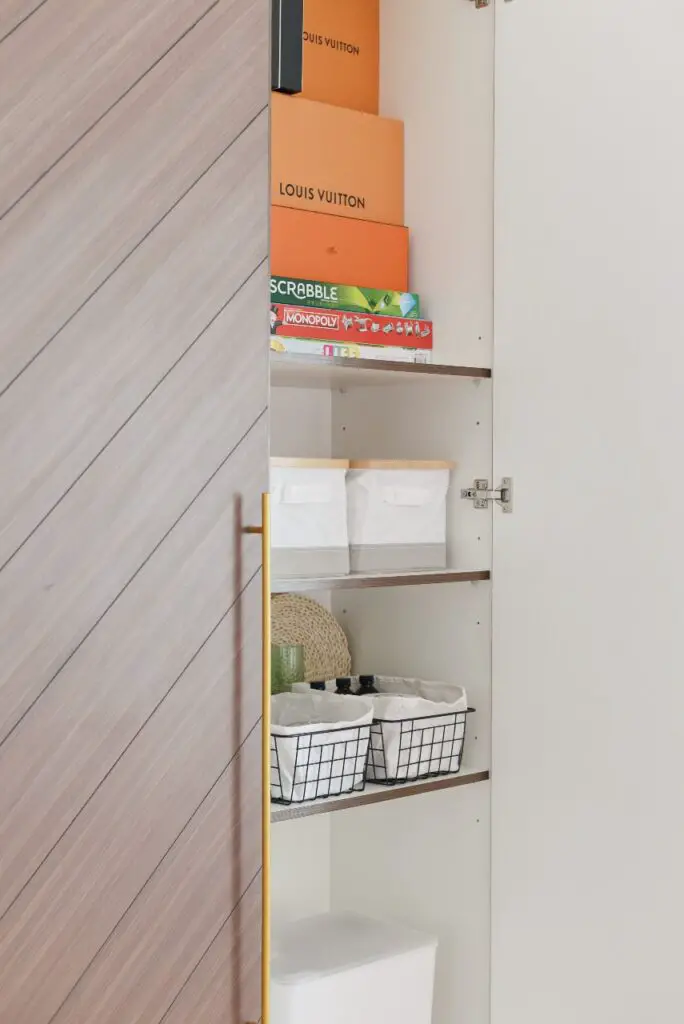
Since we have a large hall closet, I chose four different types of storage solutions. I stuck to neutral colors but kept things interesting by selecting different textures. Our final purchase consisted of water hyacinth baskets, wire baskets, plain plastic storage bins, and fabric storage bins.
I prefer using opaque bins because they conceal clutter so well. Then I pair them with labels so I know what’s inside each bin at all times.
I know some people like the look of clear bins, but I find it stressful trying to keep everything tidy within the boxes. What’s the point of organizing your hall closet if it still looks messy, right?
Organize and label
You’ve reached the final and most exciting step of organizing your hall closet! There are two more things you need to do before you call it a day.
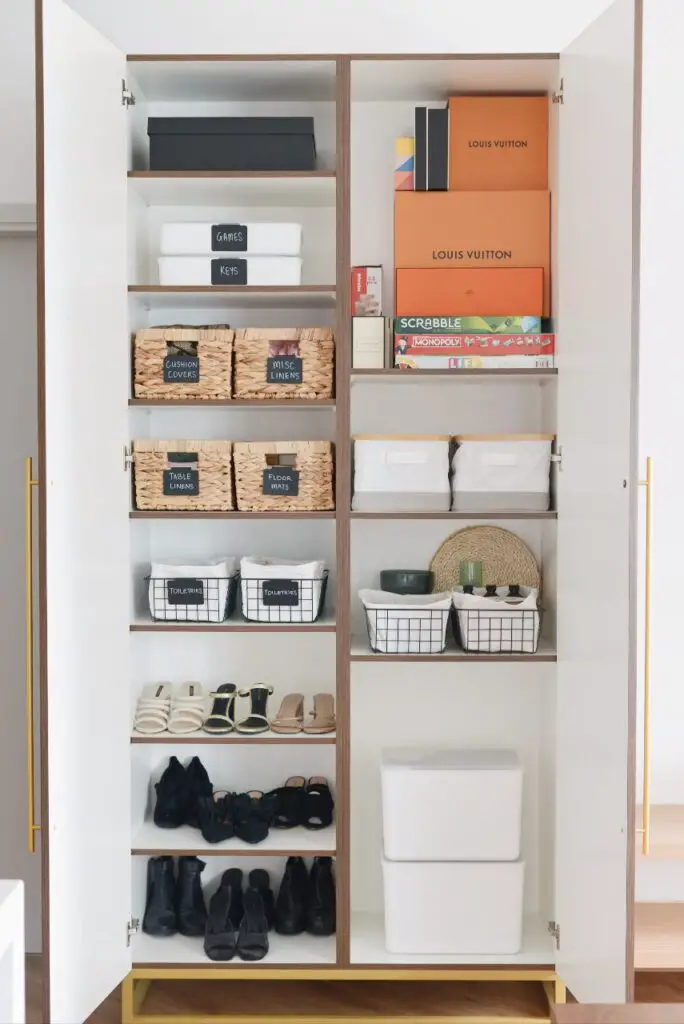
First, you should decide where each group goes. Heavy boxes or things you use often should be placed on the lower shelves whereas lighter items or seasonal decor can be placed on the higher shelves.
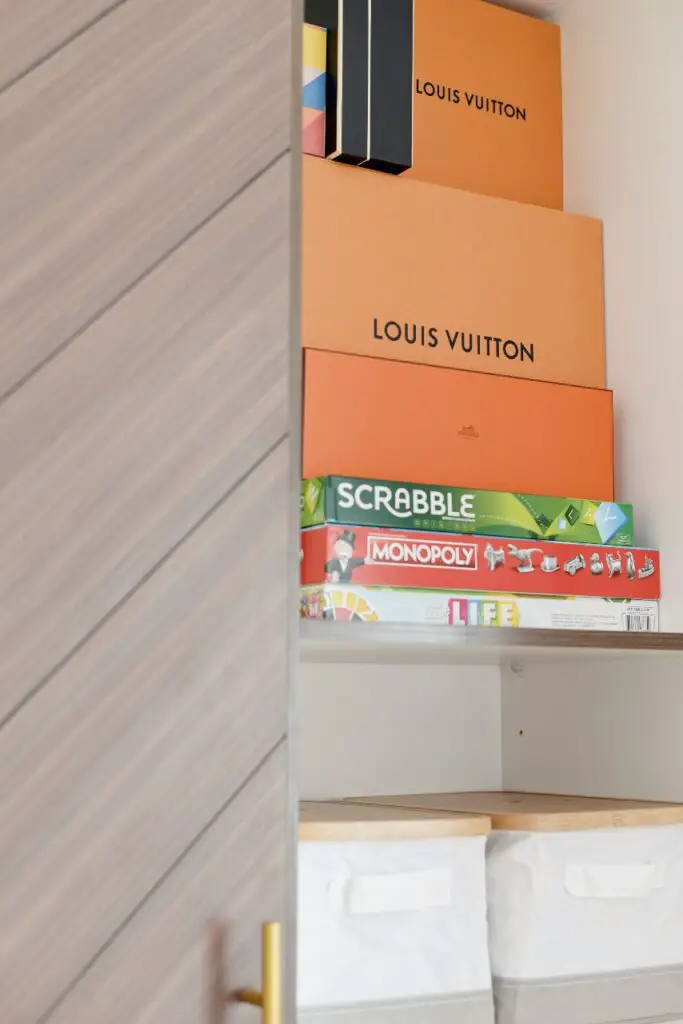
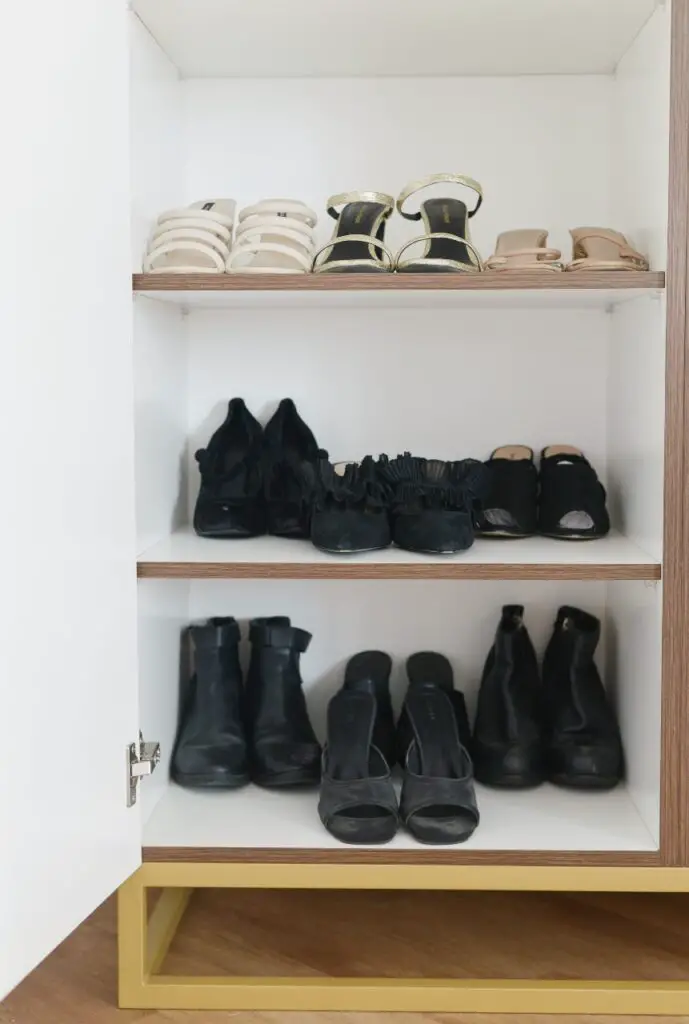
We placed our toiletries, shoes, and decorative items on the middle and bottom shelves because I use them pretty often. We usually only take out our board games when we have friends over, so we left them on top since we haven’t been allowed to have visitors over. Our linens and miscellaneous items go on top since we only use them seasonally.
Once everything is in place, it’s time to start labeling! There are so many ways to create cute labels. If you’re on a budget, you can totally make your own labels on Canva and printing them on sticker paper. You can also create them on your Cricut machine if you have one.
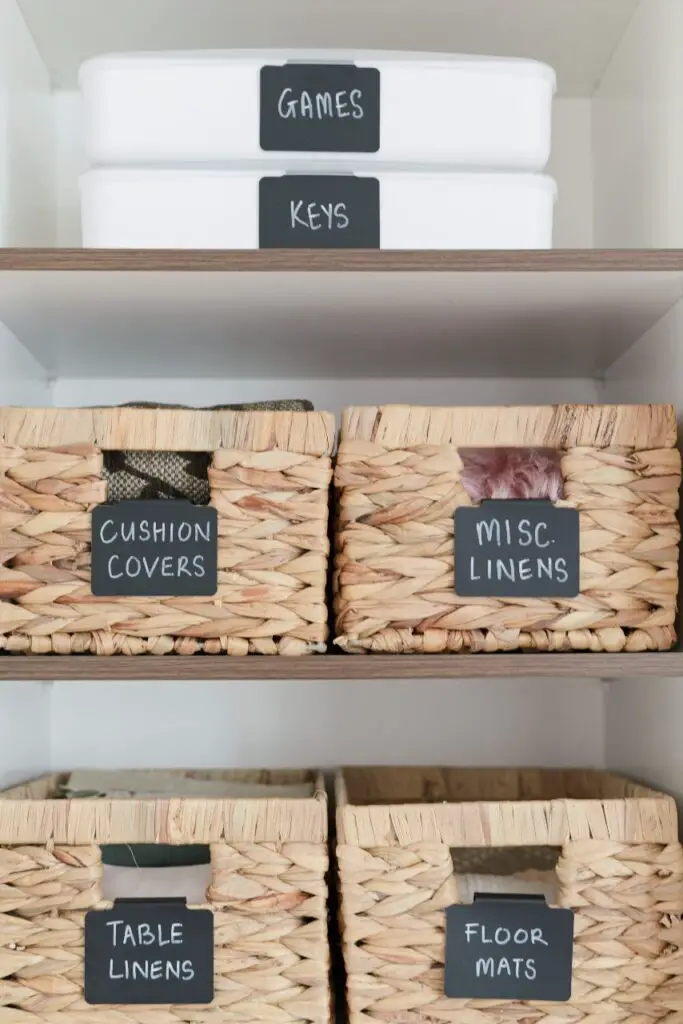
I used metal clip holders I could write on for my labels. I’m definitely planning to add more of these!
And, there you have it! My organized hall closet – I LOVE how it turned out! This entire project is so easy and quick – you can finish it in a day if you have all the materials. We had to wait for a while for our storage bins to arrive, otherwise, we would’ve completed this sooner!
Now that this is done, I can’t wait to tackle our kitchen next.
What do you think of our hall closet transformation? I hope you learned a thing or two about how to organize a hall closet. Let me know if you have any organization tips to add!

