One of my biggest projects this year is to makeover my family’s fixer-upper without major renovations. My parents bought this place in 1988 and they have not done anything to it since. As a result, the 33-year-old home looks a little rough around the edges.
This project came about unexpectedly so I don’t exactly have a budget for it. Since renovations typically cost a lot, I’m going to see if I can give the home a fresh look without renovating. I’m sure it will be a challenge but I’m ready to take it on!
If you’re looking to makeover a fixer-upper without major renovations, check out my game plan below.
How To Makeover A Fixer-Upper Without Major Renovations
Step 1: Create a project master list for the home
Confession: I started working on my parents’ home before I created a project list. To be honest, I needed the distraction from the grief I was experiencing after my mother’s death. So, I jumped straight into it without much thought. A month later, I realised I was jumping from one project to another, which led to many unfinished areas and my increasing anxiety!
After learning my lesson, I decided to create a project list first. I like to categorise projects as big-ticket items that need to get done in the home. For example, I consider organising the kitchen as one of my projects. Once I’ve listed the various projects, I like to break them down by tasks. After that, I will review the entire project (tasks included) and allocate a budget for each project.
I find that outlining my projects gives me the clarity to focus on the bigger picture without glossing over the details. Plus, checking off a mega to-do list gives me a satisfaction like no other!
Step 2: Organise the master list by priorities
Sounds easy, right? But, if the fixer-upper requires a lot of work, where do you even start?
If you’re not planning on renovating the space, I recommend prioritising these projects:
- Repairing
- Decluttering
- Organising
Repairing
It’s important to note that a makeover doesn’t just include aesthetics. Function is key to a comfortable home! While it’s tempting to shop for new furniture or decorative pieces, spend your money on urgent repair works instead. Some of the fixtures in my parents’ bathroom were not working, so I splurged on a brand new toilet, sink and shower head.
Decluttering
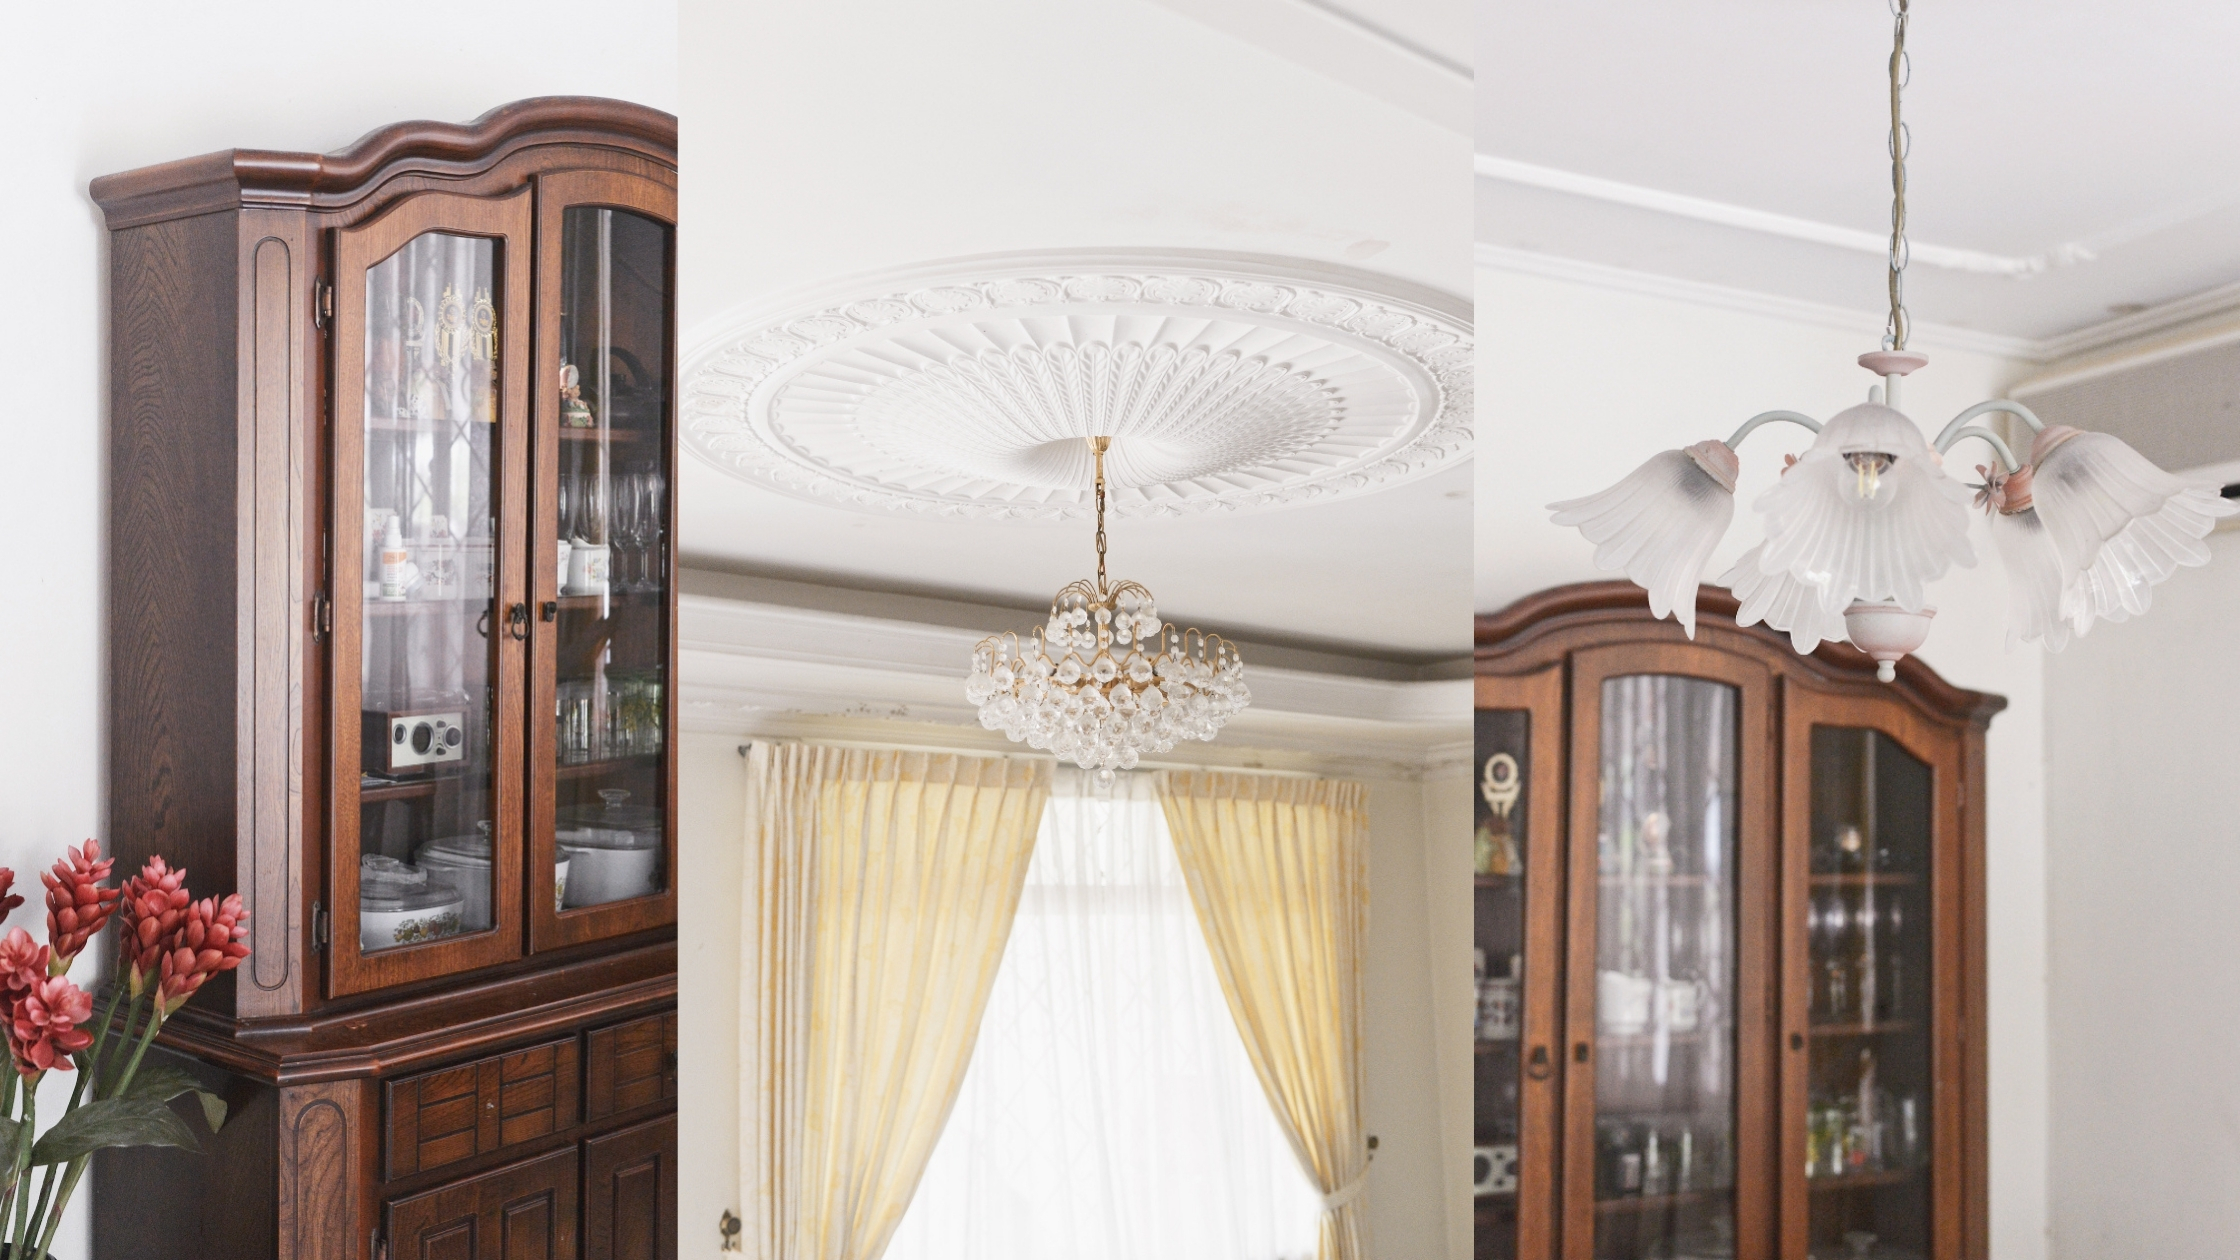
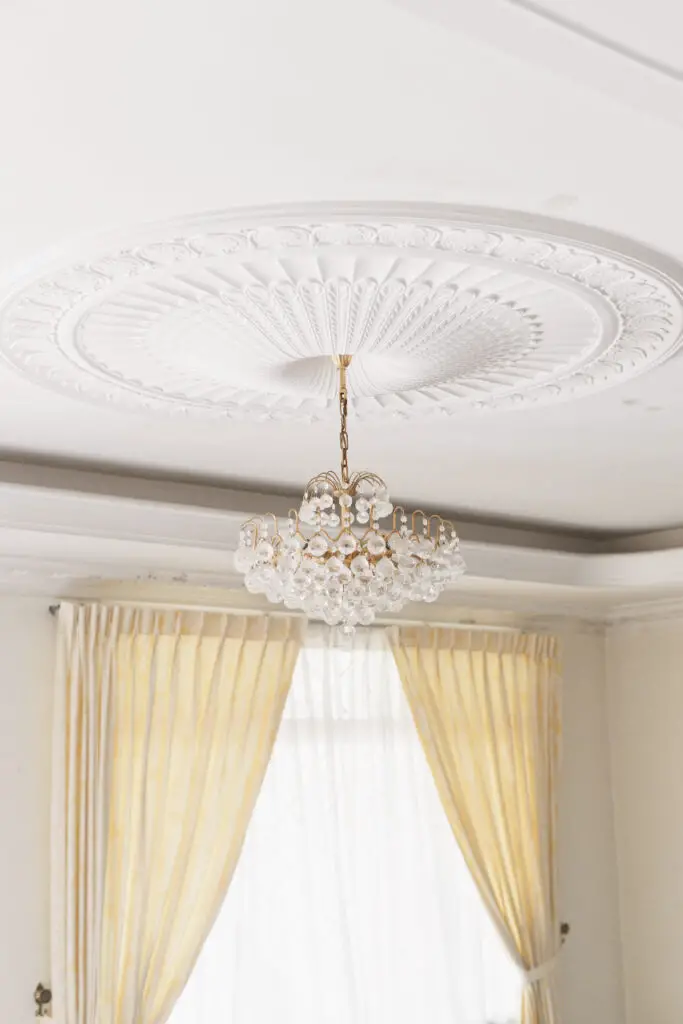
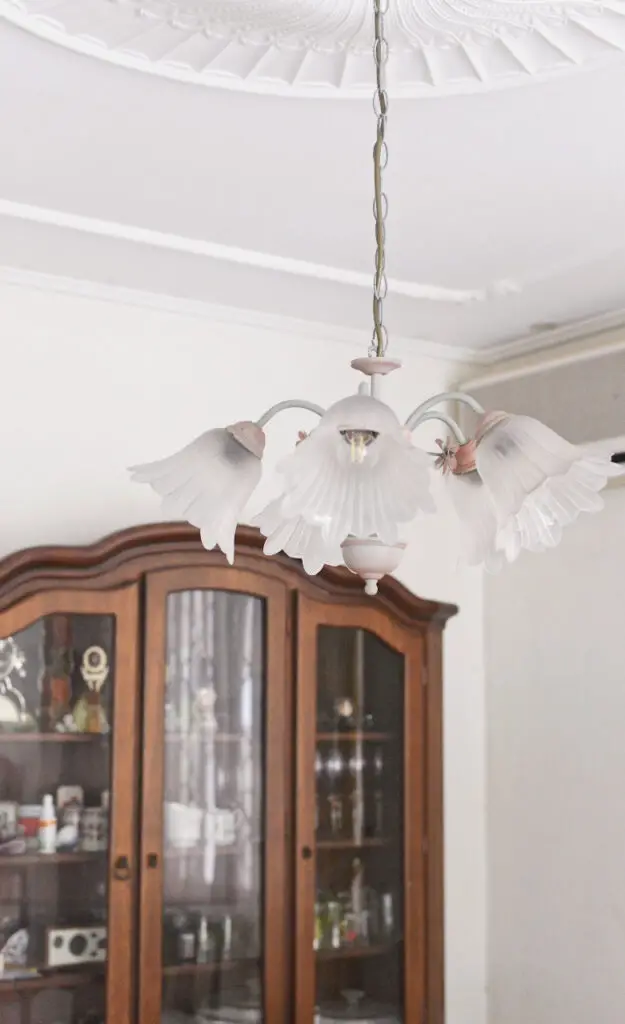
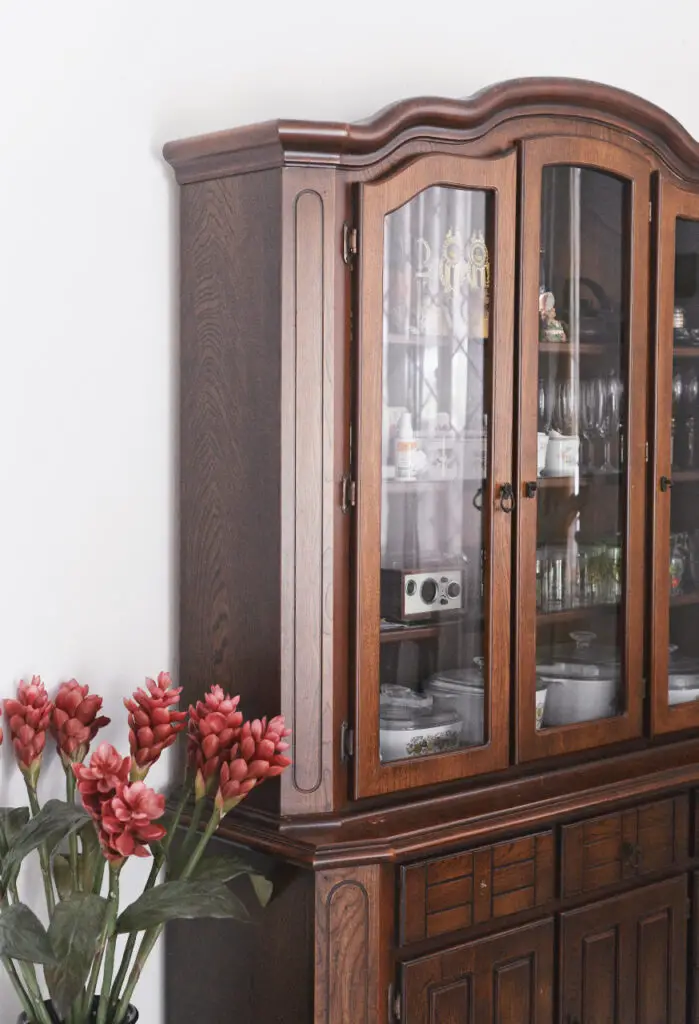
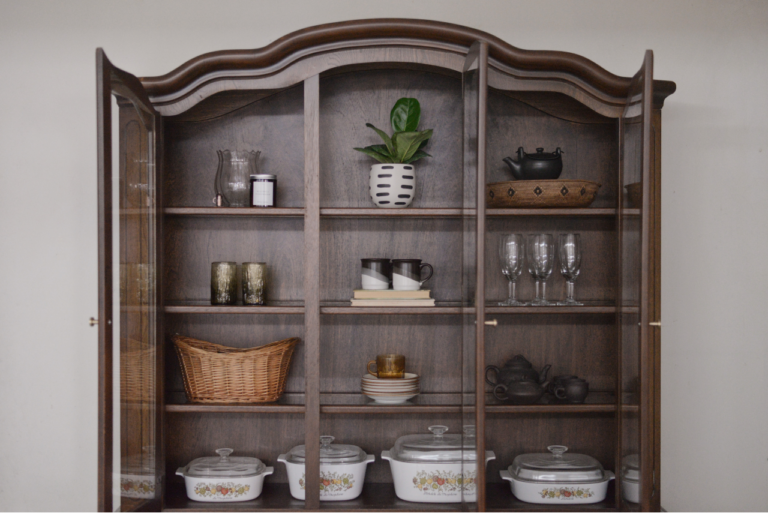
Our family accumulated a ton of stuff while living at home for over three decades. We barely used any of it so they just sat around and collected dust. My allergies were going crazy! Once I started decluttering, I noticed our house immediately looked bigger and brighter. It also gave us an opportunity to admire the finer details of the house like the crown molding on the ceilings.
Organising
We’re still in the decluttering process but my final priority is to re-organise everything. I learned that everything within your home should have a home. This way, everyone will be equipped to put things away which will keep the house neat and tidy.

Step 3: Don’t rush the makeover process
I admit, I’m a perfectionist to a certain degree. You will hardly find me posting ‘BEFORE’ photos because I like photographing pretty things! This silly trait of mine makes me want to speed up the makeover process so I can post them here.
BUT. It takes time and patience to makeover a fixer-upper, especially if you don’t have a big budget. Since I happen to fall into this category, I will be taking the entire year to complete the makeover.
I hope to overcome my fear of posting progress photos on this space, starting with this post. I’d love to take you along with me while I makeover my family’s fixer-upper!
Step 4: Use creative and inexpensive DIYs to makeover your fixer-upper
I haven’t had the chance to try any major DIY projects in the past due to limited space in my apartment. However, this makeover will give me a chance to brush up on my skills! Here are some creative and inexpensive DIY projects I’m considering:
- Paint both the interior and exterior of the house
- Upcycle old furniture
- Replace the hardware on our furniture
- Change window treatments
- Install a board and batten wall in my bedroom
- Paint our tiles (I’m a little scared of this one but Casey from DIY Playbook has great tutorials)
- Update the lighting in some of our rooms (if we have extra budget left!)
I’m both excited and nervous at the thought of DIY… But whatever happens, I know it’ll be an experience I won’t forget!

Step 5: Accept that a perfect home doesn’t exist
I know there will be moments when I’m going to feel frustrated because of unsuccessful projects or delayed timelines. When the time comes, I’ll have to remind myself that a perfect home doesn’t exist. That’s the beauty about building a home – it will always be a work in progress.
Ideally, I’d love to renovate some parts of the home that need major repairs but this will have to do for now. After all, my goal for this makeover is to provide as much comfort and convenience for my father, as he continues to live in our family home without my mother.


Such a great post! This is really useful, even for me. Step 1 is something I often forget about as well. As well as the point on repairing. We underutilise repairing things a lot and assume things should last 5 years or so, when really, things can last > 10 years!
Thanks for reading, D! Same, I’m always saving all of my funds for home decor but I’ve learned to be practical. A home needs to be first and foremost functional!